


.png)


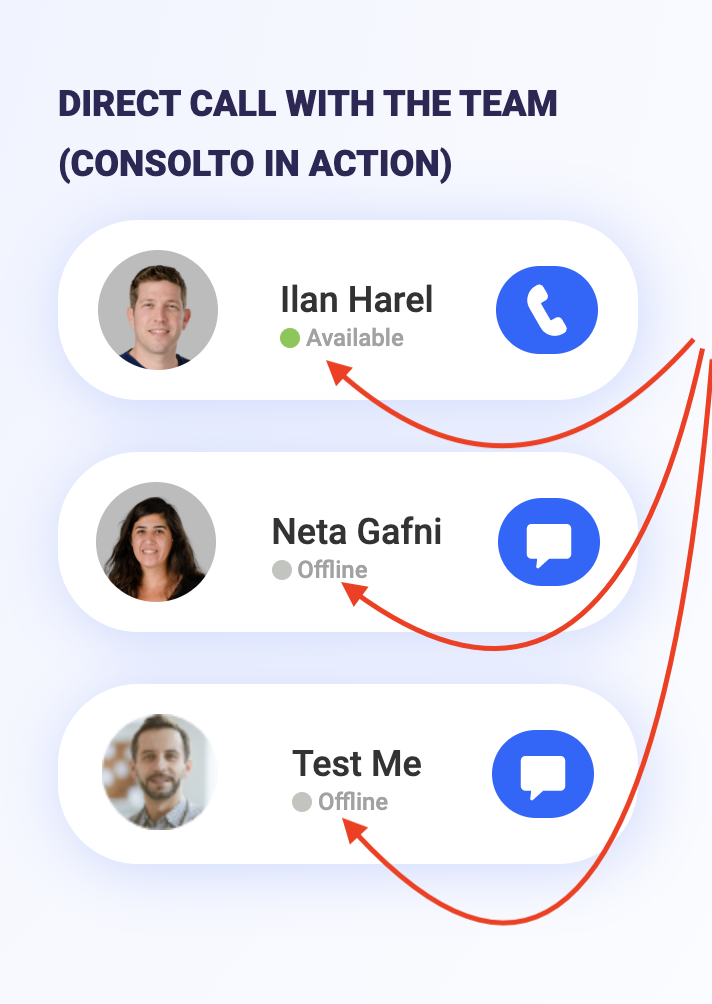
Availability Cues on website elements
Overview:
You’re installing Consolto and want to display the availability of agents on a customized part of your website? Not a problem!
The Consolto Plugin can transmit agents’ availability states to an element on your page. That way, you can show an indication that lets your customers know when you're online / offline / busy / standby**.
Live example: https://www.consolto.com/contact
Instructions
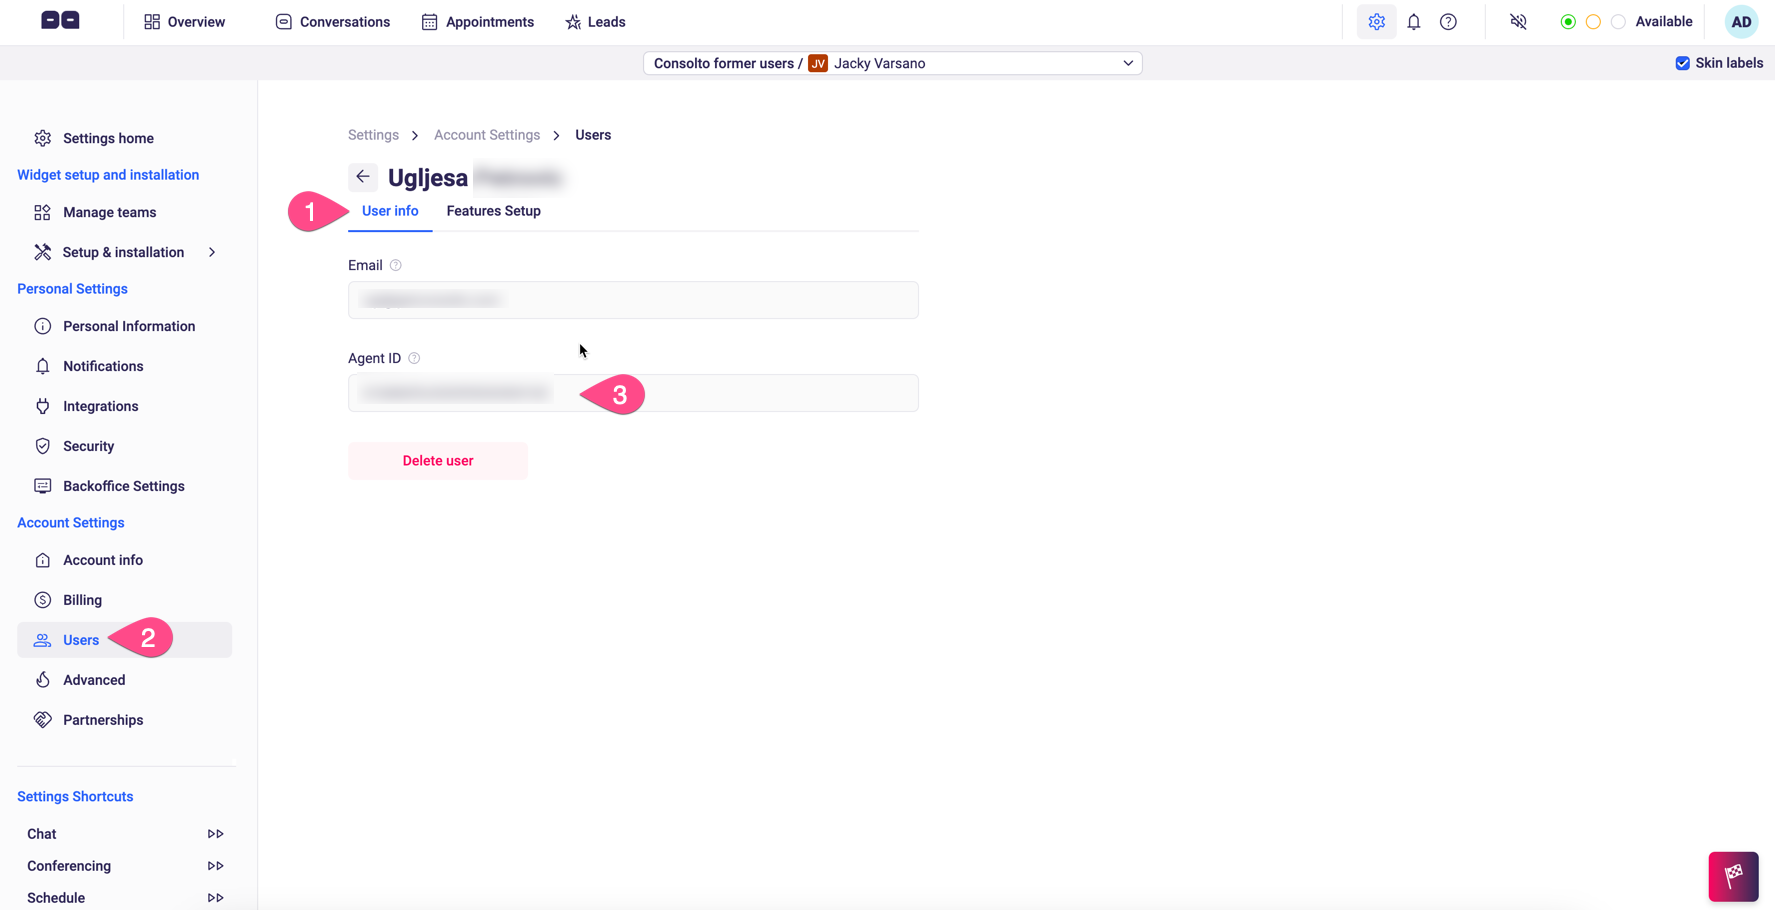
Find the agent id in the users tab:
Once the agent's availability changes, we perform two actions:
- Class Modification: We change the class of an element with id=<agentId>to one of the new classes as described below.
- Event Dispatching: We dispatch an event with information about the availability state change.
Class modification:
Instructions:
- Select an HTML element that will change its class.
- Set the id of that element to the agent's ID.
Example:
<div id="123321123">Availability Cue </div>
By doing this, you ensure that the Consolto plugin sets the classes of this element based on the classes below:
New Classes:
- consolto-agent-offline
- consolto-agent-available
- consolto-agent-busy
- consolto-agent-standby**
Troubleshooting:
- Verify that the "Website API Calls" feature is enabled to enjoy this feature! (Available based on plan)
- Make sure you put the agentId as the ID of the HTML element you want to modify.
- Make sure that only one HTML element has that ID.
- Make sure you style a CSS class that is named as the classes above.
Event dispatching
Similar to other events sent by Consolto to the hosting website, you can also listen programmatically to changes in the availability state.
We dispatch a custom event on the "window" element with an event named "consoltoEvent". An object with the following details is attached to that event:
- action = AVAILABILITY_STATE_CHANGE
- label = agentUserId - the id of the agent that has changed the availability state.
- value = newAvailabilityState - the new availability state of the agent.
To listen to such events, add the following code to the HTML of your page:
Example:
window.addEventListener('consoltoEvent', function (e) {
console.debug(e.detail); // will contain category, action, label, value. Make sure to listen to action=AVAILABILITY_STATE_CHANGE
});
Notes:
- Please note that this is a beta feature and we'd appreciate any feedback.
- Verify that the "Website API Calls" feature is enabled to enjoy this feature! (Available based on plan)
- **Standby state will be used in the future, once we launch a mobile application. It is currently not supported.


.svg)
.svg)
.svg)

